Melbourne’s Trusted Experts in Automated Gates & Fencing – Residential, Commercial & Industrial Solutions.

From Manual to Automated: How to Upgrade Your Gate with Minimal Hassle
Learn how to convert your manual gate to an automated system with minimal hassle. Discover requirements, costs, safety tips, and installation steps for swing and sliding gates.
4/16/20266 min read
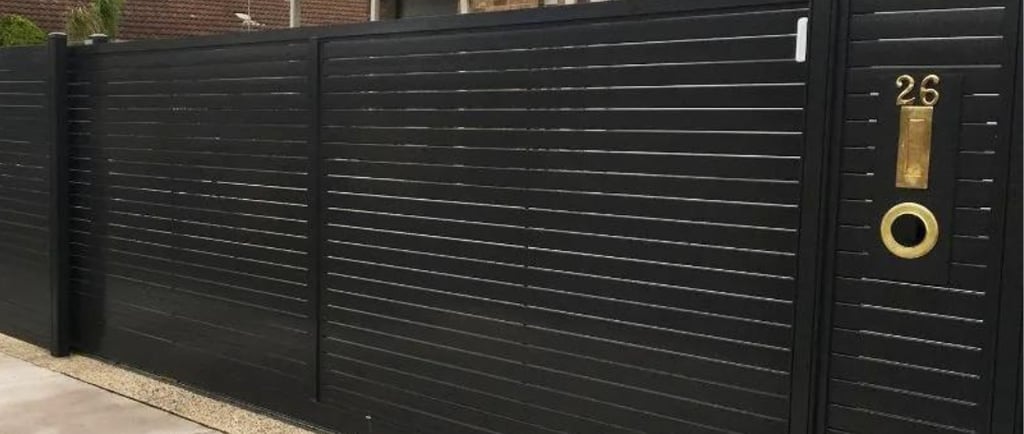
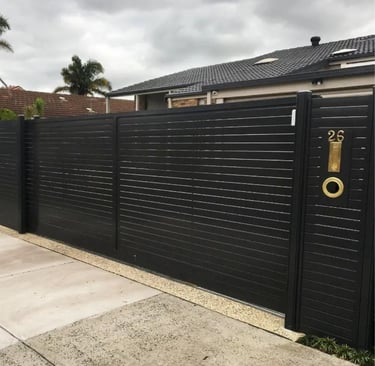
Most people do not think about their gate until it becomes a problem. Getting out of the car every time, dealing with a heavy latch in the rain, or worrying about whether you remembered to close it. These are small frustrations, but they are daily ones.
What a lot of homeowners do not realise is that you usually do not need a new gate to solve this. Most existing swing and sliding gates can be motorised without replacing the whole structure. The gate you already have is likely a good candidate for automation, it just needs the right system fitted to it.
The process is more straightforward than most people expect. With the right assessment and a qualified installer, the upgrade can be done with minimal disruption to your property. This guide covers what is involved, what to check before you start, and what the installation process actually looks like.
Can You Automate Your Existing Gate?
This is the first question most people ask, and the answer is usually yes. Whether you have a swing gate or a sliding gate, there is a good chance it can be motorised without pulling it out and starting from scratch.
That said, not every gate is in good enough condition to take on an automation system. The motor needs something solid to work with. If your gate is warped, sagging off its hinges, or has posts that are not secure, those issues need sorting first. Automation does not fix a gate that is already struggling. It just adds more stress to it.
What to Check Before You Start
Before anything else, take a good look at your current gate and surroundings. Here is what matters:
Gate type: Is it a swing gate or a sliding gate? Each uses a different type of motor.
Gate weight and size: Heavier gates need more powerful motors. Residential gates and commercial gates have different requirements.
Condition of the gate and posts: Hinges, wheels, and posts all need to be in solid shape. A gate that drags or binds when opened by hand will not work well once automated.
Available clearance: Swing gates need space to arc open without hitting a wall, slope, or post. Sliding gates need clear run-off space along one side.
Power access: Is there a power point nearby, or will cabling need to be run to the gate?
Ground slope: A sloped driveway can affect how a swing gate operates and may require specific motor configurations.
If you are unsure about any of these, a professional installer can assess the site and tell you what is workable.
Gate Types and What Automation Involves
Automated Swing Gates
Swing gates are the most common type on Australian residential properties. Single and double swing gates can both be automated. The motor mounts to the gate leaf and post, and the system is set up to open and close on a timed or triggered cycle.
One thing worth knowing about swing gates is that the direction of opening matters. Some driveways do not have enough clearance for the gate to swing outward, so the setup needs to account for which direction works for your space. If a swing gate currently drags on the ground or is hard to push open, that needs to be fixed before automation goes in, otherwise the motor will just be fighting the same problem.
Automated Sliding Gates
Sliding gates move horizontally and are a practical choice where there is not enough room for a gate to swing. They work well on sloped driveways too, since they do not need to arc across an uneven surface.
For sliding gate automation, the condition of the wheels and the ground track is important. Any wear or buildup needs to be addressed before the motor is installed. A sliding gate that runs roughly by hand will put unnecessary load on the motor and wear it out faster.
What Does the Installation Process Look Like?
Most gate automation installations follow a similar sequence. Here is a rough breakdown of the steps involved:
1. Site assessment A professional will look at your gate, power access, clearance, and any site-specific factors before recommending a system.
2. Gate preparation If the gate or posts need reinforcement or repair, this happens first. Some gates need extra bracing to handle the cycle load of a system that opens and closes multiple times a day.
3. Motor and hardware installation The motor is mounted and connected to the gate. The control board, which manages the gate's operation, is housed in a weatherproof enclosure near the gate.
4. Electrical connection Power is connected from a mains supply and wired through to the control board. All electrical work should meet Australian standards.
5. Safety devices Australian standards require that automated gates include safety measures to prevent the gate from closing on a person or vehicle. Common safety devices include:
Photocell sensors (infrared beams that stop or reverse the gate if something is in the path)
Safety edges (pressure strips that reverse the gate on contact)
Auto-reverse settings on the motor controller
6. Access control setup This is where you choose how the gate opens. Options include remote controls, keypads, and intercom systems. For commercial properties, gate automation solutions can also be integrated into a broader access control setup.
7. Testing and handover The installer should test every function before leaving, including obstacle detection and all access devices. You should receive a demonstration and documentation for the system.
Residential vs Commercial Automation: Key Differences
The process for automating a residential driveway gate is similar to a commercial one, but the requirements are different. Here is a simple comparison:
For commercial and industrial properties, getting the motor duty rating right is important. A motor sized for light residential use will fail quickly if it is running in a busy commercial environment.
Common Mistakes to Avoid
A few things tend to trip people up when automating a gate for the first time:
Skipping gate maintenance beforehand: A gate that drags or binds will wear out a motor quickly. Fix mechanical issues first.
Choosing an underpowered motor: Always size up rather than cutting it close, especially if the gate is on a slope.
Not planning for power: Sorting out the power source before installation starts saves time and unexpected costs on the day.
Ignoring safety compliance: Automated gates that can injure a person if they close unexpectedly must meet Australian safety standards. This is not something to cut corners on.
Going the DIY route on complex setups: Many people who attempt DIY automation end up calling a professional installer after running into problems. The cost of fixing a poorly installed system often exceeds what professional installation would have cost in the first place.
Maintenance After Installation
Once your gate is automated, a bit of routine maintenance goes a long way. Most systems are low maintenance, but there are a few things worth doing regularly:
Lubricate hinges, rollers, and moving parts every few months
Check that safety sensors are clean and aligned
Test the obstacle detection function periodically
Keep the motor housing clear of debris
Book a professional service check if the gate starts behaving erratically
If something does go wrong, gate repair and maintenance services can diagnose and fix most issues without needing to replace the whole system. Catching problems early usually means a simpler and cheaper fix.
Making the Switch from Manual to Automated
Automating a gate is one of those upgrades that feels minor until you have it, and then you wonder how you managed without it. Most existing swing and sliding gates are suitable for automation with the right preparation. The key is to assess your setup honestly, choose a motor that matches your actual needs, and make sure safety compliance is covered.
If you are not sure where to start, a site assessment from a qualified installer takes the guesswork out of what is possible. To talk through your gate and what automation would look like for your Melbourne property, get in touch with the iGate Automation team.
Frequently Asked Questions
1. Can any manual gate be automated?
Most manual gates can be automated if they are in good shape. Your gate needs to be strong and move smoothly without dragging on the ground. If your gate is bent or sagging, you will need to fix those problems before adding a motor.
2. Do I need to run a power line to my gate?
Yes, the motor needs electricity to work. If there is no power near your gate, an installer can run a new cable for you. In some cases, you can use solar power if running a wire is too difficult or costs too much.
3. How long does the installation take?
For most homes, the job takes one or two days. This includes fitting the motor, connecting the wires, and testing the safety sensors. Larger commercial jobs or gates that need a lot of repairs might take a bit longer.
4. What happens if the power goes out?
Every automatic gate has a manual release key. You can use this key to unlock the motor so you can push the gate open by hand. Some systems also have a backup battery that lets the gate work for a few hours without power.
5. How often should I service my gate?
You should have a professional check your home gate once a year. If the gate is at a busy business, it should be checked every six months. Regular service helps the motor last longer and keeps the safety sensors working correctly.
Address : 22 Barkly St, Brunswick East VIC 3057, Australia
Connect With Us On Social Media
I Gate Automation
ABN 25 634 531 231
Our Privacy Policy
Our Terms & Conditions
Contacts
1300 251 900
info@igateautomation.com.au